Disclosure: this post is brought to you by Rimmel London and EcoTools. Products were sent me as gifts and for review purposes only. All opinions are my own.
One pharmacy brand that is guaranteed to blow your mind aaaannd has already blown my mind is Rimmel London. With it’s revamped product line up and with several celebrity endorsements under its radar, Rimmel London is a popular name in the affordable-beauty industry. I had never used Rimmel London products before, until I was introduced to it at Generation Beauty last year, ever since then: there has been no looking back.
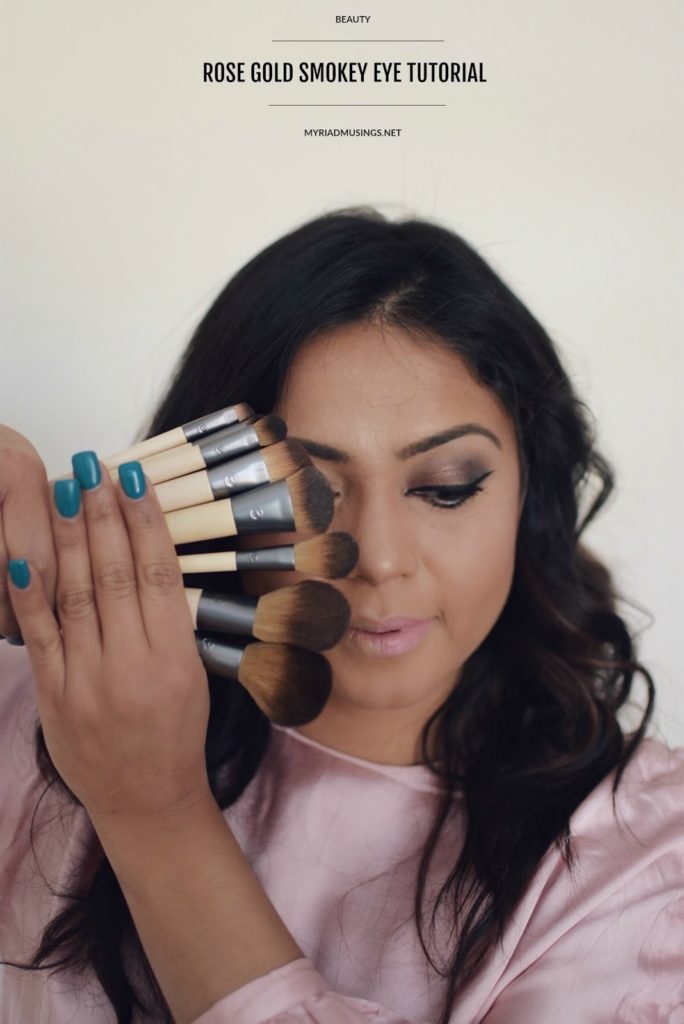
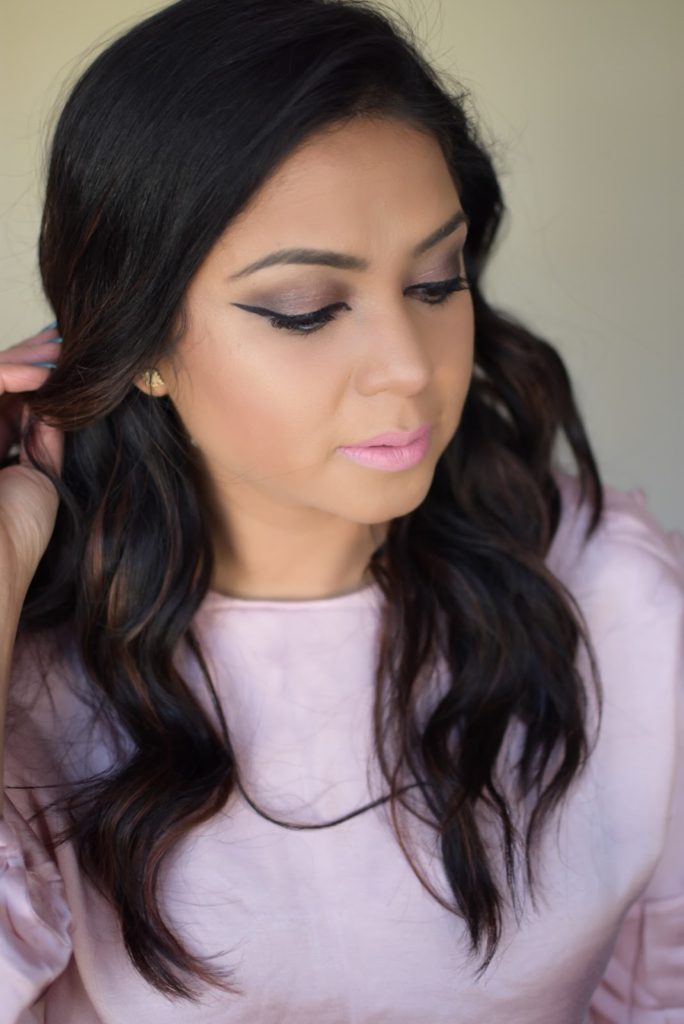
From makeup primers, to foundation, to concealers, to bronzers, to blushes and to lipsticks, you name it and Rimmel London has it under it’s sleeves and beautifully lined up on the shelves of your neighborhood pharmacy. Today I am using some of their newly launched products, coupled with my new ecotools brushes to recreate this look below. I did half of my face first and then used it as a guideline to finish off and demonstrate the look.
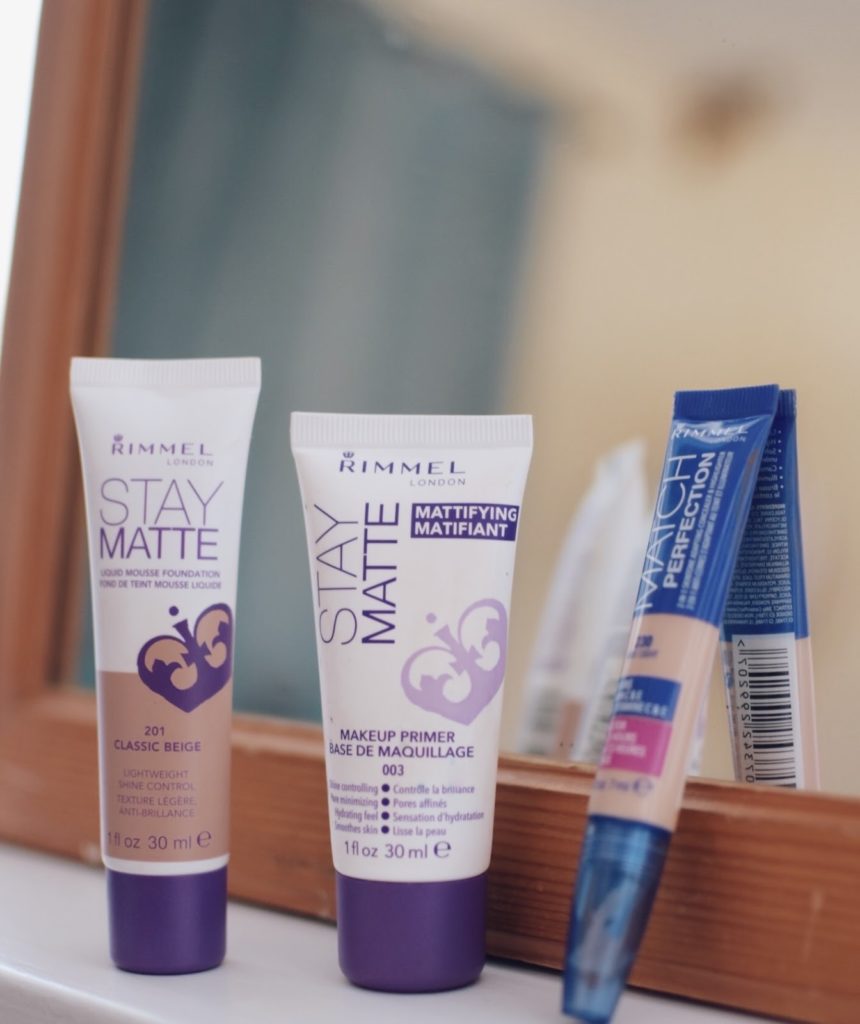
STEP 1– First, I primed my face with the Stay Matte makeup primer in 003, using my fingers. Then I used the precision foundation brush from eco tools to apply the foundation, my shade Stay Matte Liquid Mousse foundation in Classic Beige 201. Using the angled foundation brush, I applied Match Perfection concealer and highlighter in 230, under my eyes and on the bridge of my nose.
ㅡㅡㅡㅡㅡㅡㅡㅡㅡ
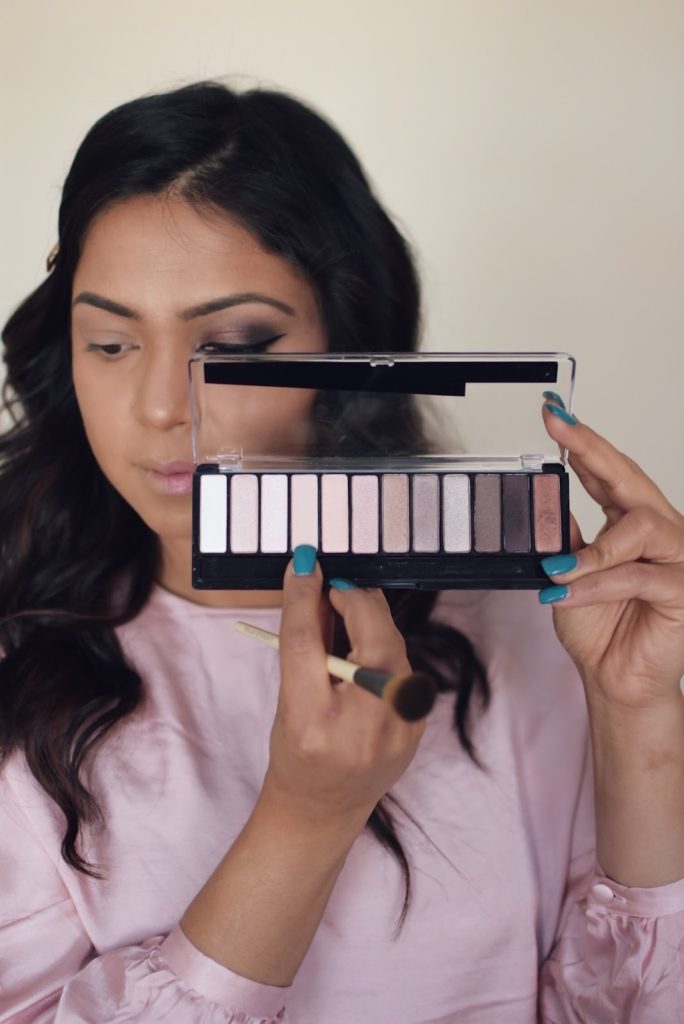
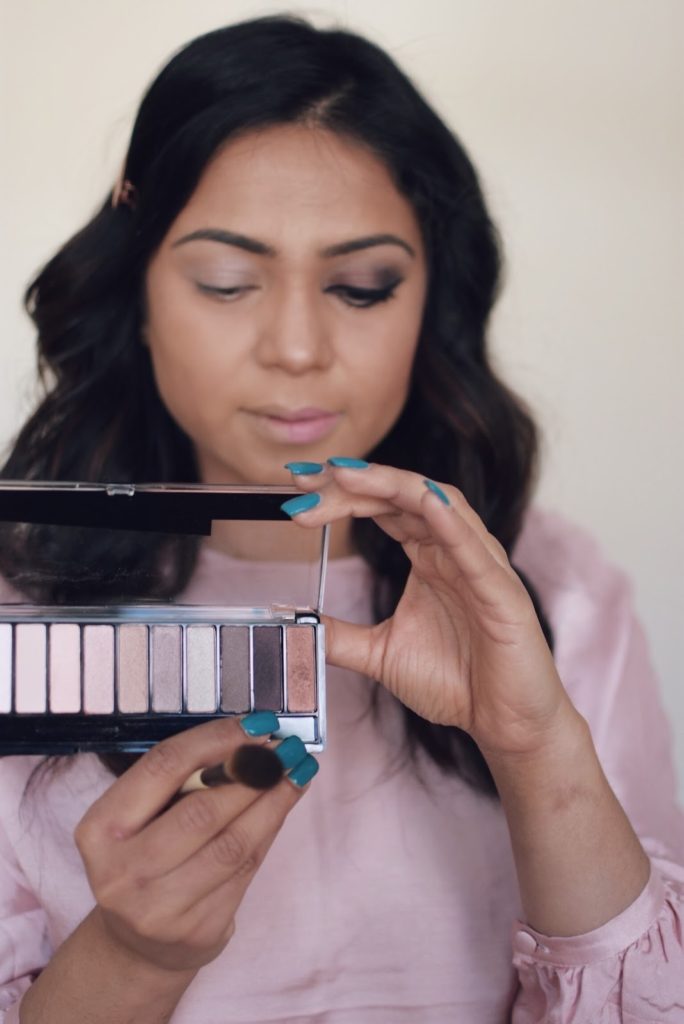
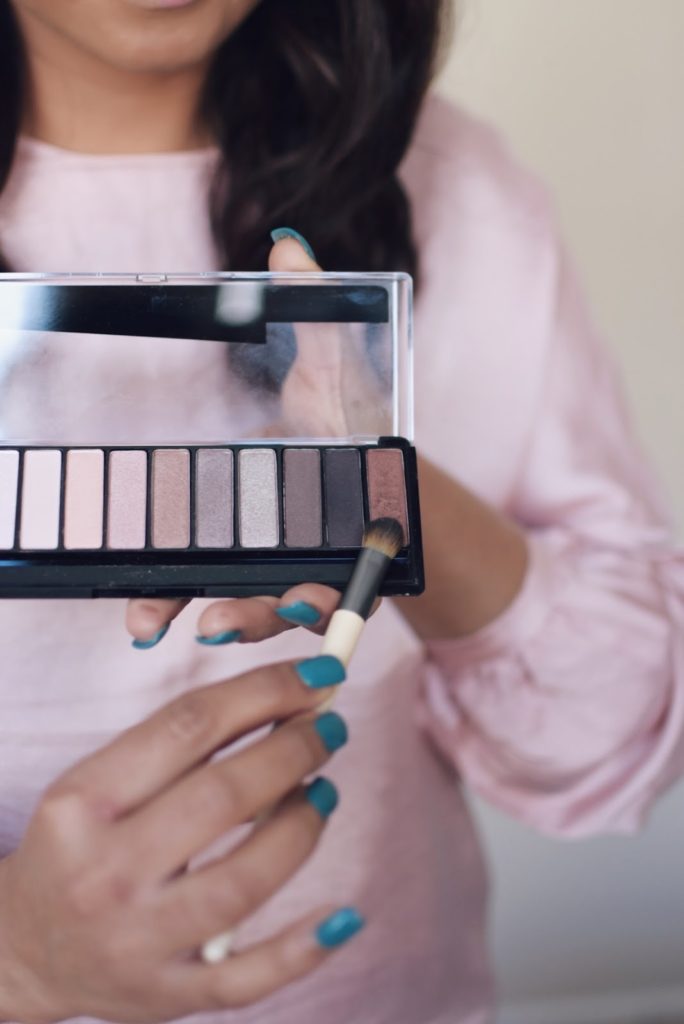
STEP 2– I created a base for my eyeshadows ( Rimmel 12 pan eyeshadow palette in Blush Edition 002 ) , all over the eyelid till the crease line, using the 4th shade from left and the defined crease brush. Using the same brush, I applied metallic dark brown ( 2nd shade from right ) on the outer corner of my eyes. Now using the precision concealer flat brush I applied the right most rose gold shadow over the middle and inner corner of my eyes. Now it’s time to blend and clear off any prominent lines, for this I used the blurring brush. It is by far the best brush I’ve come across. It really blurs out any distinct shadow lines. I used the angled liner brush to line the bottom lash line too.
ㅡㅡㅡㅡㅡㅡㅡㅡㅡ
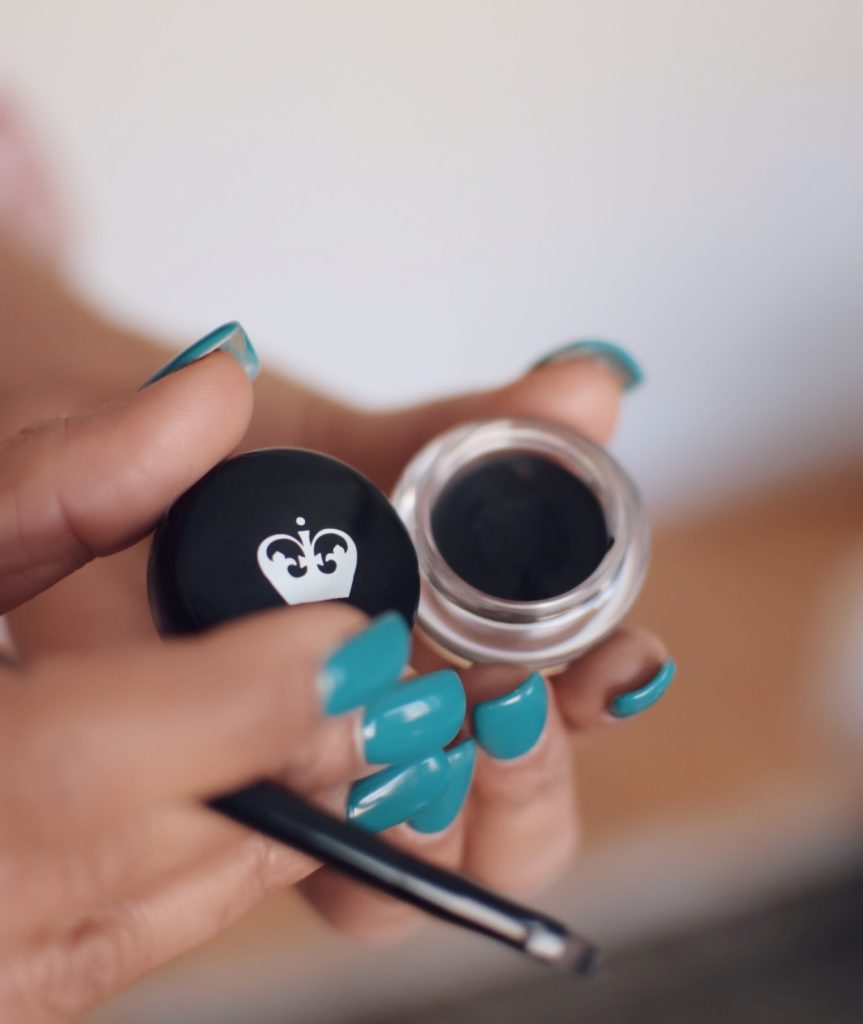
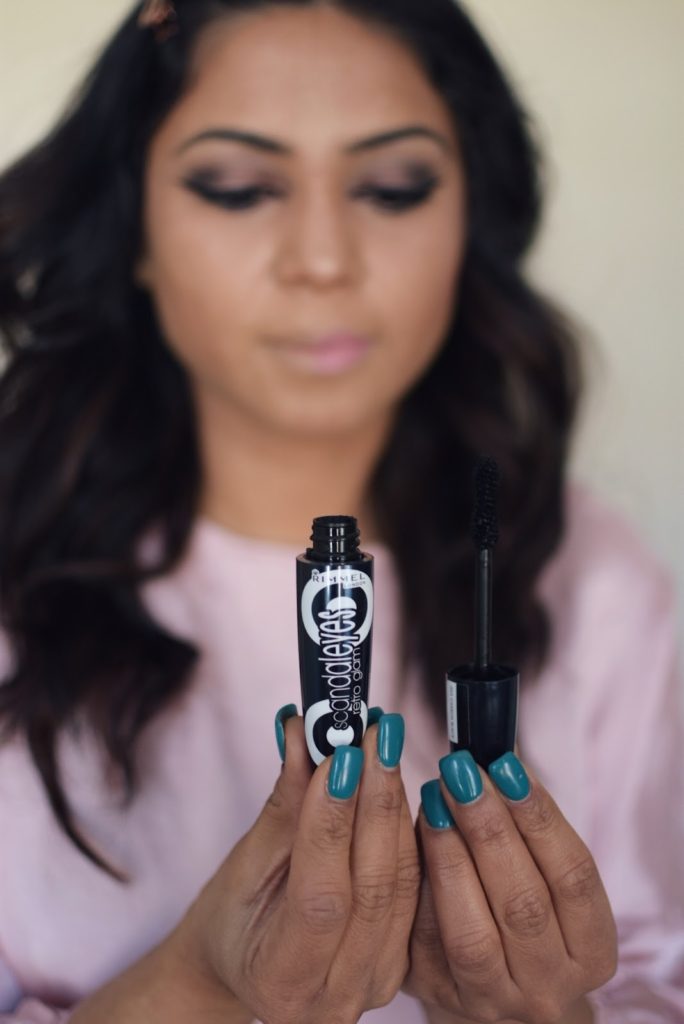
STEP 3– for me, my eye makeup is incomplete without a bold eyeliner and I prefer using a gel eyeliner over liquid liners. It’s not that liquid eyeliners aren’t good, there is something about the gel liners that makes it popular amongst the beauty mavens. It is long lasting, smudge proof and flawlessly dramatic. I used the angled liner brush for my cat eye line and also for lining the lower water line. I finished off with a couple coats of scandalous mascara in blackest black.
ㅡㅡㅡㅡㅡㅡㅡㅡㅡ
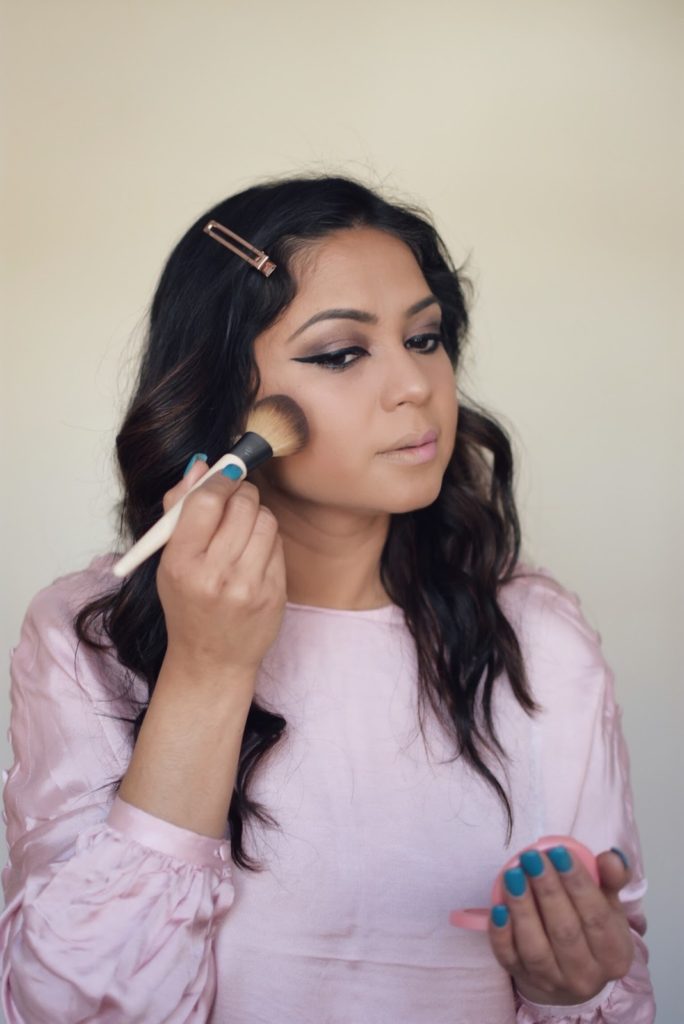
STEP 4– time to bring some rosiness to your cheeks. Using the full blush brush I stippled some peachy blush onto the apples of my cheeks.
ㅡㅡㅡㅡㅡㅡㅡㅡㅡ
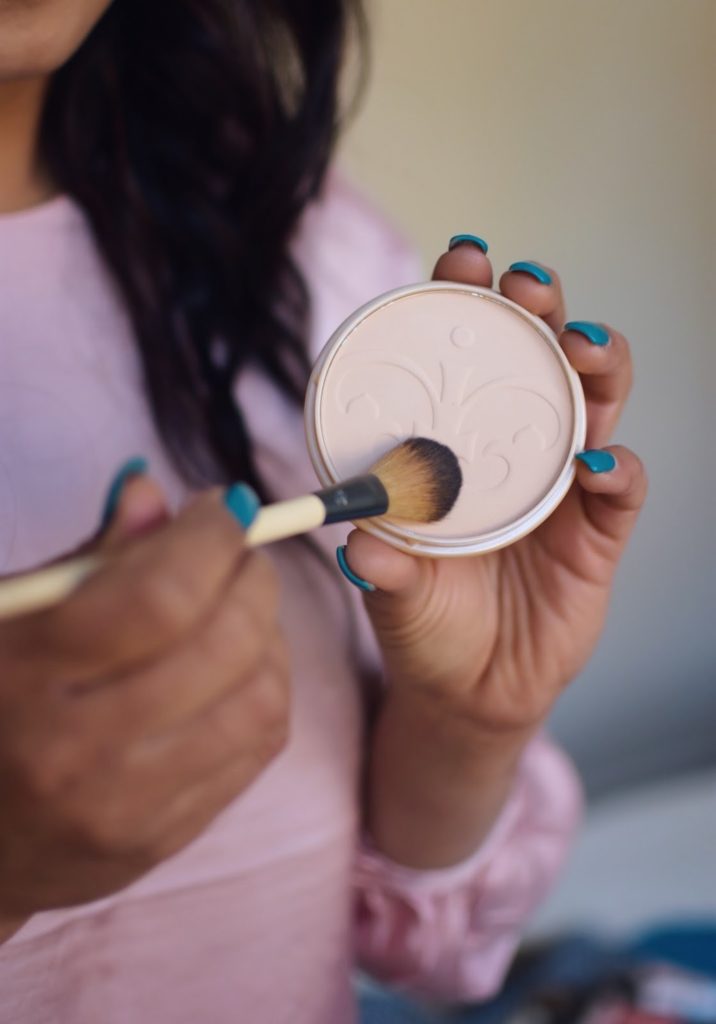
STEP 5– the most important step is to ” set your makeup “. Since my T-zone tends to get oily, I have to use a setting powder to set and matify my makeup. I am using Stay Matte Long Lasting powder in Silky Beige 005 for all over my face, including under eyes.
ㅡㅡㅡㅡㅡㅡㅡㅡㅡ
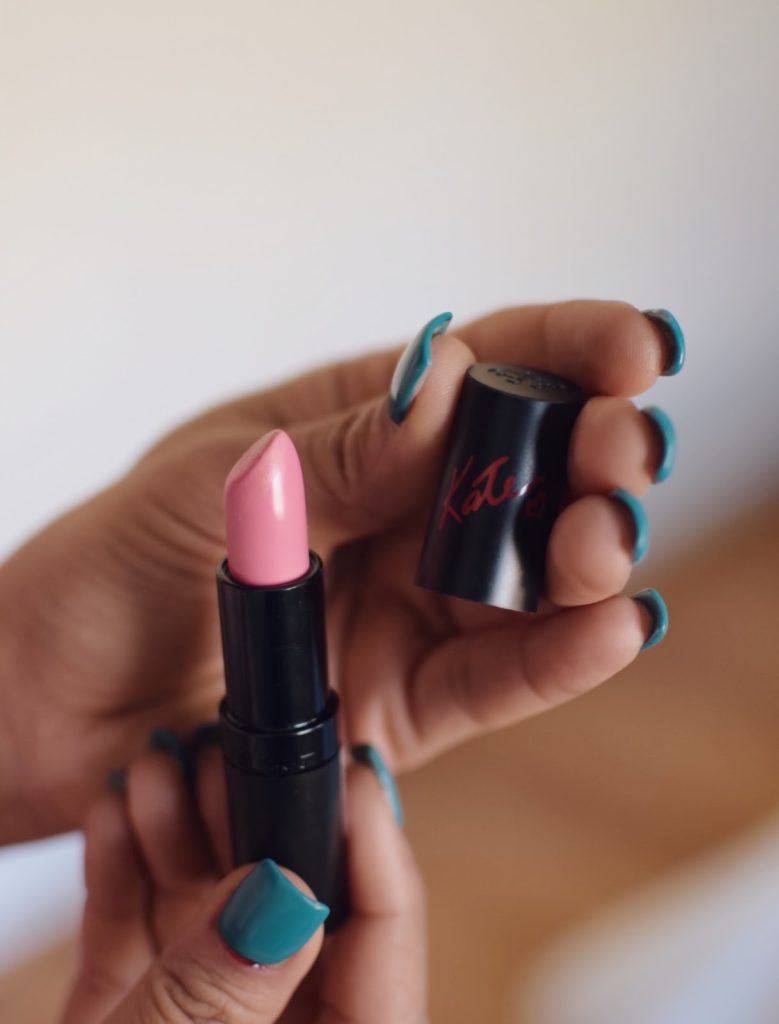
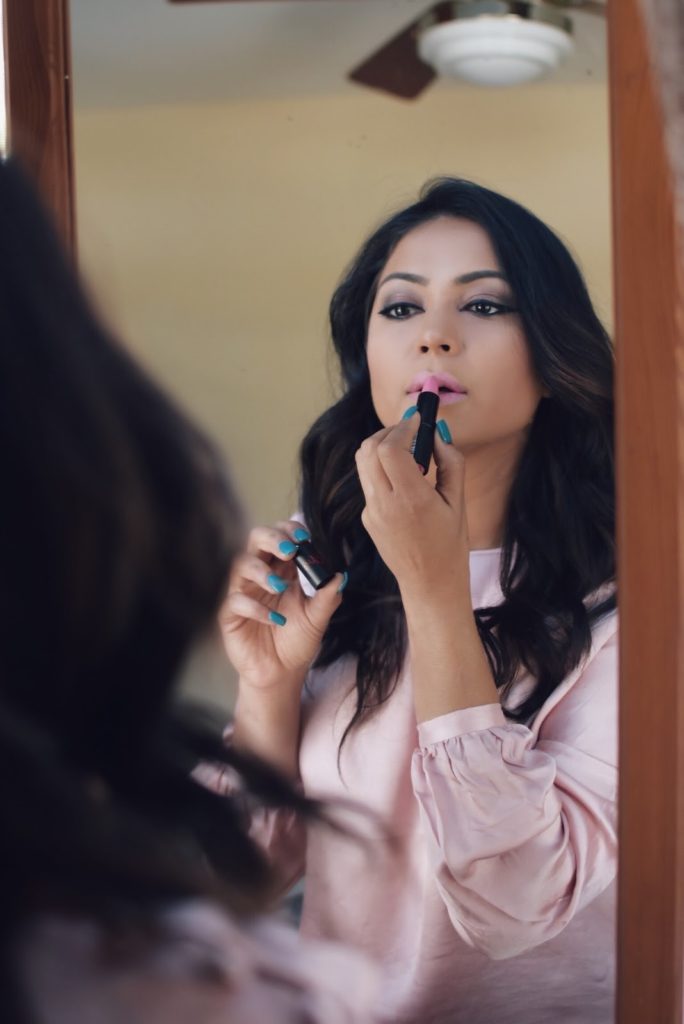
STEP 6– as I have prominent lines on my lip, I like to first fade the appearance of these lines, for which I use a matte lipstick and then apply the desired lipstick. For my lips I am using lasting finish by Kate Rossetto 44, followed by lasting finish by Kate Rossetto 33. Voila, easy-peasy smokey makeup look achieved……!!!
PRODUCTS USED :
- stay matte makeup primer in 003
- stay matte liquid mousse foundation in 201
- match perfection concealer and highlighter in fair/light 230
- Rimmel 12 pan eye shadow palette in Blush Edition 002
- gel eyeliner
- Rimmel scandalous mascara in black
- stay matte long lasting powder in Silky Beige 005
- lasting finish by Kate in Rossetto 44
- lasting finish in Kate in Rossetto 33
- ecotools brushes
Leave a Reply